Seeing Stars!

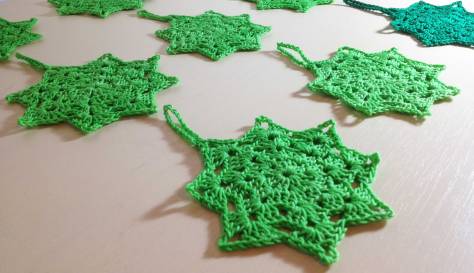
Shooting-Stars-BlockedNow Christmas has well and truly crept up on us – Christmas carols are being played everywhere,  the super giant Christmas trees have appeared in their natural habitat: the shopping centre, and the bombardment of Christmas catalogues has hit my mailbox – it’s time for my yearly panic about gifts. Well, this year I have decided to fight back and get organised early. The plan is to crochet Christmas decorations for the girls at work (Don’t worry as all real knitters do I’m sure I’ll decide two weeks out that there’s plenty of time to make that Christmas sweater!).

So out came the crochet stitch dictionary and I came upon an adorable star motif that’s 136 if you have this book.
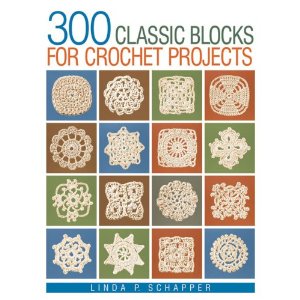
300 Classic Blocks for Crochet Projects

Making use of my train journey to and from work (one hour 20 mins each way I have to find something to do) I realised I could make 3 motifs, there and 3 back. Even with adding the loop (See below for instructions). How quick is that?!?

And my stars were born and then improved by the quick steam block. Crochet cotton seems to respond really well to this.

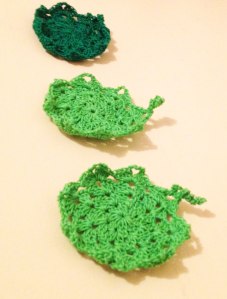
As proved by my before blocking:

Unblocked-Crochet-Stars

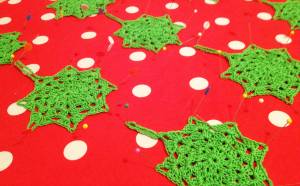
While blocking: (My super cool red dotty ironing board adds to the festive spirit)

Close-Up-of-Blocking-Stars

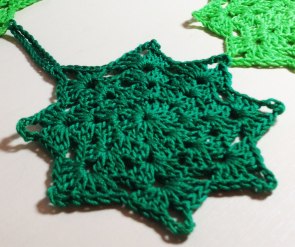
And after blocking pics:

Blocked-Star-Solo-2

And if you’re going what’s blocking then click here to find out more. Once you discover it you can’t go back! Also, if you’d like to make your decorations hard you can also spray then with a bit of starch but I like them a bit malleable.

So if you’re looking for a quick gift then go to your crochet stitch dictionary and give it a try!  (If you don’t have a dictionary don’t give up! Just google “Crochet Star Motifs”. It is amazing how many are out there. This site – http://allcrafts.net/crochet/crochetmotifs.htm – especially has some lovely ones.) And when you’ve made your motif all you have to do is make a loop for it to hang on your tree.

The loop instructions:

Once you’ve completed your motif slip stitch to a centre point. In the case of mine it was slip stitch to and including the centre chain in the chain space. Then I simply chained 24 and slip  stitched back into my centre chain space. Easy peasy!

The Power of Blocking

After-Blocking-1From my observations knitters seem to fall into three schools:

1. Devoted Blockers

2. Those who know about blocking but don’t.

3. Blocking? Oh yes blocking. And…that is what exactly?

So this post is about converting people to Camp No 1. And it’s not just for the sake of saying “I block, therefore I am”. This is serious knitterly stuff about making your projects look wow! Having people go “did you really knit that?!?” And everyone being amazed at your talent, brought to the forefront by the power of blocking.

So instead of anymore arguments about why block, some pictures:

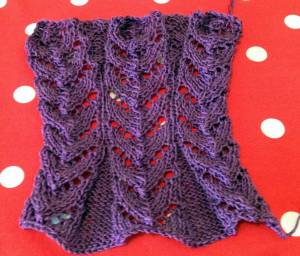
Unblocked:

Unblocked-Swatch

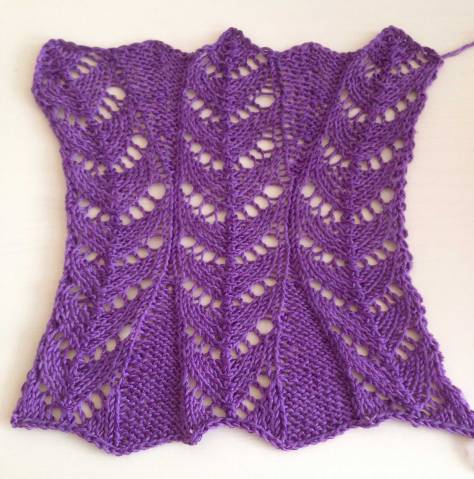
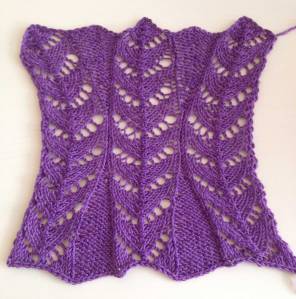
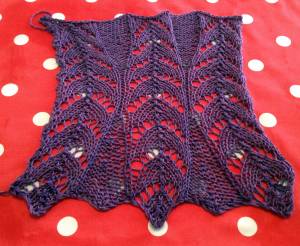
Blocked:

After-Blocking-1

Notice the improvements in even tension, the lace work stitches are nice and open, even the knitting lies flat and does not curl. I know, enough said! So the next question is how do you block? I have two ways the energetic quick way or the calm slow way depending on how you’re feeling. So…

The Quick Way: (Takes about 5 to 10 minutes)

You will need your knitting, a space large enough to pin it out to the dimensions you would like. If it’s a small accessory or swatch use your ironing board. If it’s a large garment put two towels on your dining table or bed and pin it out on that. And if it’s super super big like a blanket, put the towels on the floor. (I also have used a thick plastic table cloth as well instead of towels. Basically, you just want something that you can stick your pins into.)

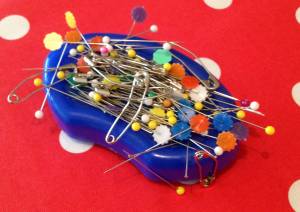
Next ready your iron (on a dry setting appropriate to the fibre you would like to block), a fine cotton handkerchief, a bowl of water and lots pins.  To hold my pins I find the magnetic pinholders a lifesaver (especially when you drop them on the floor). If you haven’t got one of these, then do so now!

Pins

Once you have all the right equipment…

The Steps:

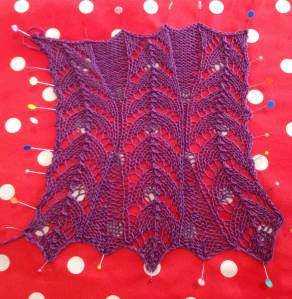
1. Pin your knitting out to the dimensions you would like it to be. I find it easiest to pin the top and bottom ends first and then the sides.

Pinned-Swatch

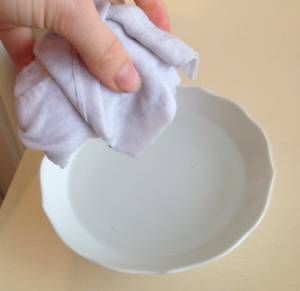
2. Dip the handkerchief in the bowl of water.   Then gently wring it out until it stops dripping. Unscrunch the handkerchief and make sure that it is all wet. (this important because it is what will stop the iron scorching your knitting).

Wringing-out-the-Hanky

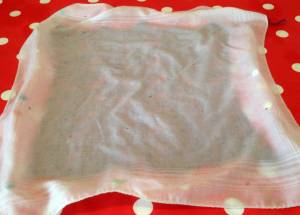
3. Lay the handkerchief over your pinned knitting so it is all covered. Gently press your iron on the handkerchief for about a second. Move it over your knitting by lifting and pressing (NOT ironing. You do not want to dry out the handkerchief). Expect a lot of hissing from your iron as it presses the knitting.

Hanky-on-top

4.. Lift off the handkerchief, unpin and admire your beautifully blocked knitting.

After-Blocking-on-Ironing-Board

Alternatively,

The Slow Way: (1 hour + depending on room temperature and size of the garment)

1. Pin your knitting out on a towel or if it fits ironing board.

2. Spray with water on a fine mist setting until the knitting is damp.

3. Leave to dry. (If it’s a large garment you will probably need to leave it overnight)

4. Enjoy your blocked knitting.

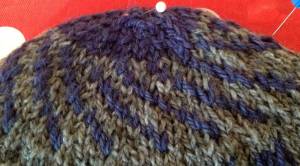
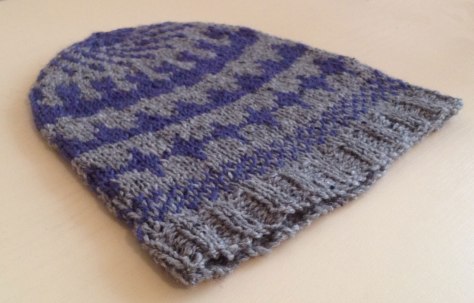
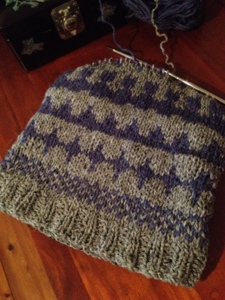
So now you know two ways to experience the power of blocking, do it! Blocking is great not just for lace knitting as shown in this post but also crochet, stocking stitch, and even colourwork like fair isle. See pics below!

Unblocked:

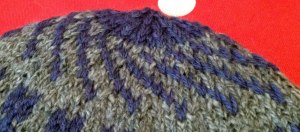
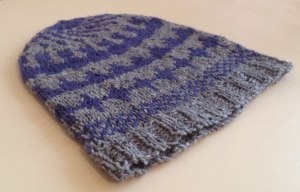
Unblocked-Beanie

Blocked: Blocked-Fair-Isle Blocked-Complete-Beanie

(Yes I promise the pattern is coming as soon as I get some nice wearable photos)

So now we’ve established that blocking can take barely any time or effort, the power of blocking is over to you. Please feel free to ask if you have any questions. 🙂

N.B: My lace swatch I used for blocking above has slightly strange dimensions. This is intentional because I did half of it on a 4.00mm needles and the other half on a 5.00mm to see which I liked better with that yarn in that stitch.

In the Beginning…

Welcome to Adele West Designs. Everything has to have a beginning and this is mine.  First about me – I love craft: knitting, sewing, crochet, stitching, quilting – once I discovered it 5 years ago I was hooked! And then my obsession took over my life. I not only create and craft in all my spare time I also work in a wool shop in Sydney Australia. This blog is for my knitting, sewing, crochet and craft pursuits to have some kind of journal and outlet.

For inspiration I wanted to start with my favourite place in the world. My view from my little home in Winmalee. I recently moved here a little over a month ago and every day I love it more and more. I share it with my husband who’s just as smitten as I and who willingly winds my skeins of wool and follows me into craft shops and carries whatever craft supplies I happen to need…who could want more?

View-from-Secret-Garden-Cottage-with-border

Knitting – Sewing – Crochet